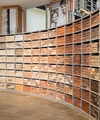
Installing Brick Slips
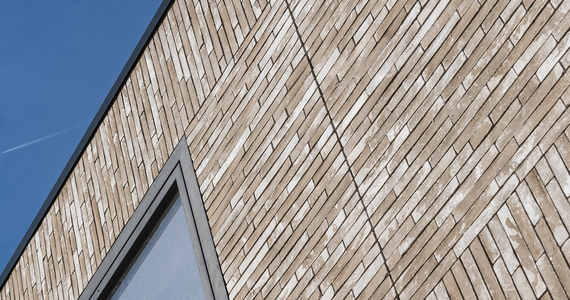
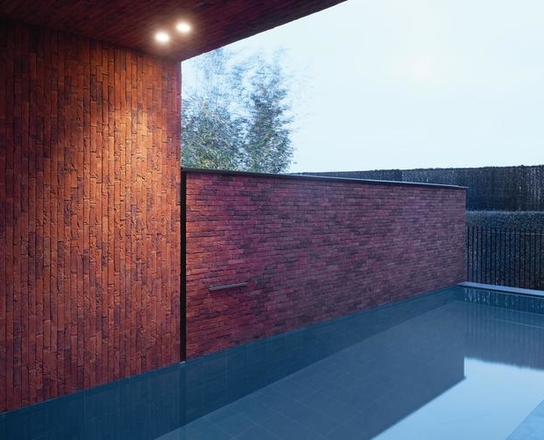
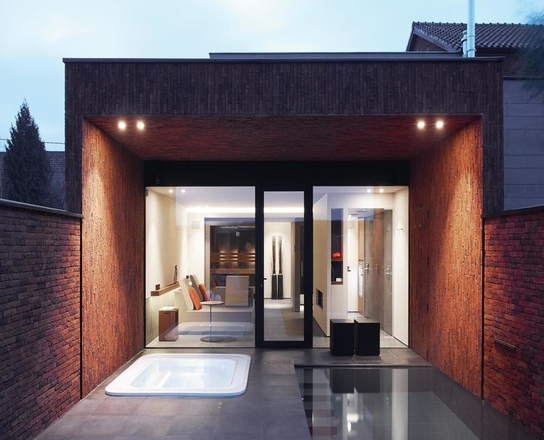
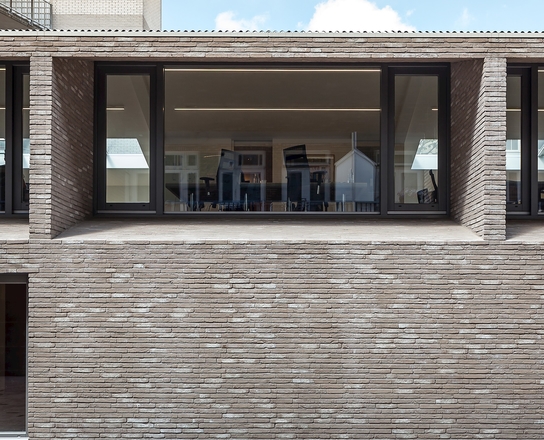
Our brick slips are the ideal solution for renovating old facades or cladding interior walls. Slips are thin slices of brick, about 2 cm in thickness. Once pointed, they look identical to standard brickwork. Brick slips are also easy to lay and do not require any adaptation of doors or windows.
Step by Step
Step 1: divide and count
- Determine the average height of the delivered brick slips.
- To do so please stack 10 brick slips on top of each other. Measure the total height and divide it by 10. Based on this result you can now determine the layer size.
- Put up a string for a clean result.
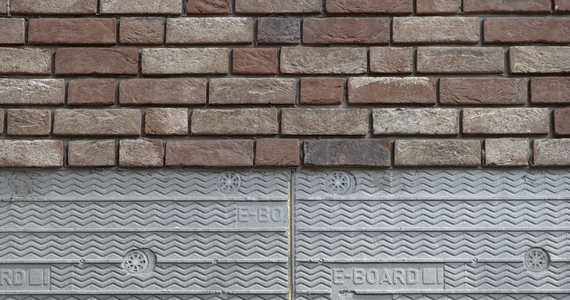
Step 2: use flexible and frost resistant cement
Vandersanden Group recommends the use of a flexible and frost resistant cement adhesive of class C2TE. The manufacturer indicates that the product complies with CE EN 12004 standards. This type of cement adhesive is suitable for processing brick slips on concrete or brick walls. For walls of other materials, such as e.g. wood or metal, it may be possible that a different type of cement adhesive need to be used. Regarding further information, we like to refer to the cement adhesive manufacturer. Please also follow closely the guidelines of the manufacturer concerning the mortar mixing procedure (amount of water added, etc.)
Step 3: spread the cement adhesive
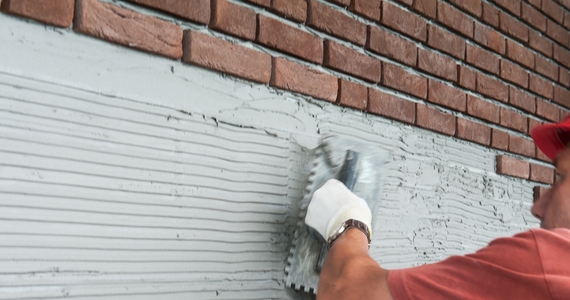
Spread the cement adhesive on the wall and distribute equally with a glue comb. Also put cement adhesive on the back of the brick slip. This “dual” gluing is necessary to achieve an optimum adhesion effect.
Step 4: push into the final position
Attach the brick slip to the wall, push it slightly into its final position and press on it a few seconds to ensure a good adhesion effect.
Step 5: the inner corners behind one another
Alternate the slips in the inner corners behind one another. And as a result, one does not get a disturbing, vertical joint line but rather a beautiful masonry bond.
Step 6: remove excess cement adhesive
Remove carefully excess cement adhesive. You can then point the finished wall with regular joint mortar. We recommend trying some joint color samples on a small area of the finished brick slips wall because the joint color has a major influence on the visual end result.
Now all you need to do is find the perfect brick slip for your home.
Find the right brick slip for you
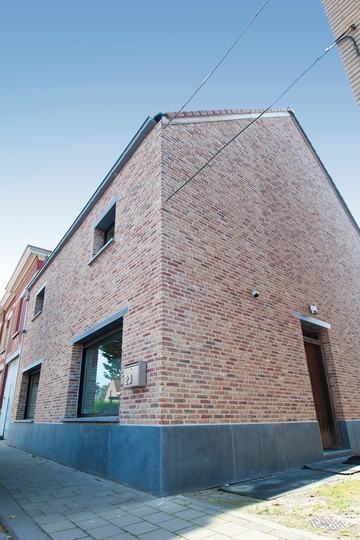
Some processing tips
A brick slip is a natural product. Natural to the production process of hand formed facing bricks, there can be slight colour variations in a single baking series. Therefore, always process from various slip boxes at once to get a nice colour nuance.
Order the required quantity of slips and corner slips in one go. This is the only way that Vandersanden can guarantee that they are all cut from one and the same baking series. Brick slips can be used both outside and inside on any dry, level and stable surface. The base surface must always be free of dust and grease. For exterior use, one must only use frost-proof cement adhesive.
Please follow the instructions of the cement adhesive supplier carefully. Brick slips can be best cut by first scratching them with a pointed object at the back before breaking or cutting them with a stone saw or grinding wheel.
ECO brick slips: formed directly in the mold
ECO brick slips are not sawn from full bricks, but are formed directly in special molds and fired as a strip. As a result, there is even less loss of material, raw materials and energy. You will only find these brick slips at Vandersanden.
